
Simple built-in bookshelf DIY

We’re rolling in the DIYs over here…
Recently: DIY clay-effect paint vases.
This week: built-in bookshelf.
This is one that’s been on my list forever but we finally got around to doing it. Isn’t it funny how sometimes the simplest projects hang around your to-do list the longest?
But seeing as it tripled the storage space in our living room (not to mention, gave a home to some of the new decor items I painted up!) I’m really glad we took a little time to get ‘er done.
I’ll keep this one short ‘n sweet because it’s so simple! But in sharing, hopefully it’s a reminder that not everything needs to be complicated to be worthwhile. 🤗
Where we started
Fun fact about this lil’ built-in: it’s where the original front door was.
Our house is actually two farmers’ cottages, knocked together.
There’s a ton of farmland behind our house. And back in the day, farm workers lived in six small cottages that make up our building.

Called “one up, one down”s, each cottage was one room upstairs and one room downstairs. But sometime in the 80s, they knocked two units together to create our place.
This alcove is what remains of the original front door for the second one-up, one-down. (Our actual front door is off the kitchen.)
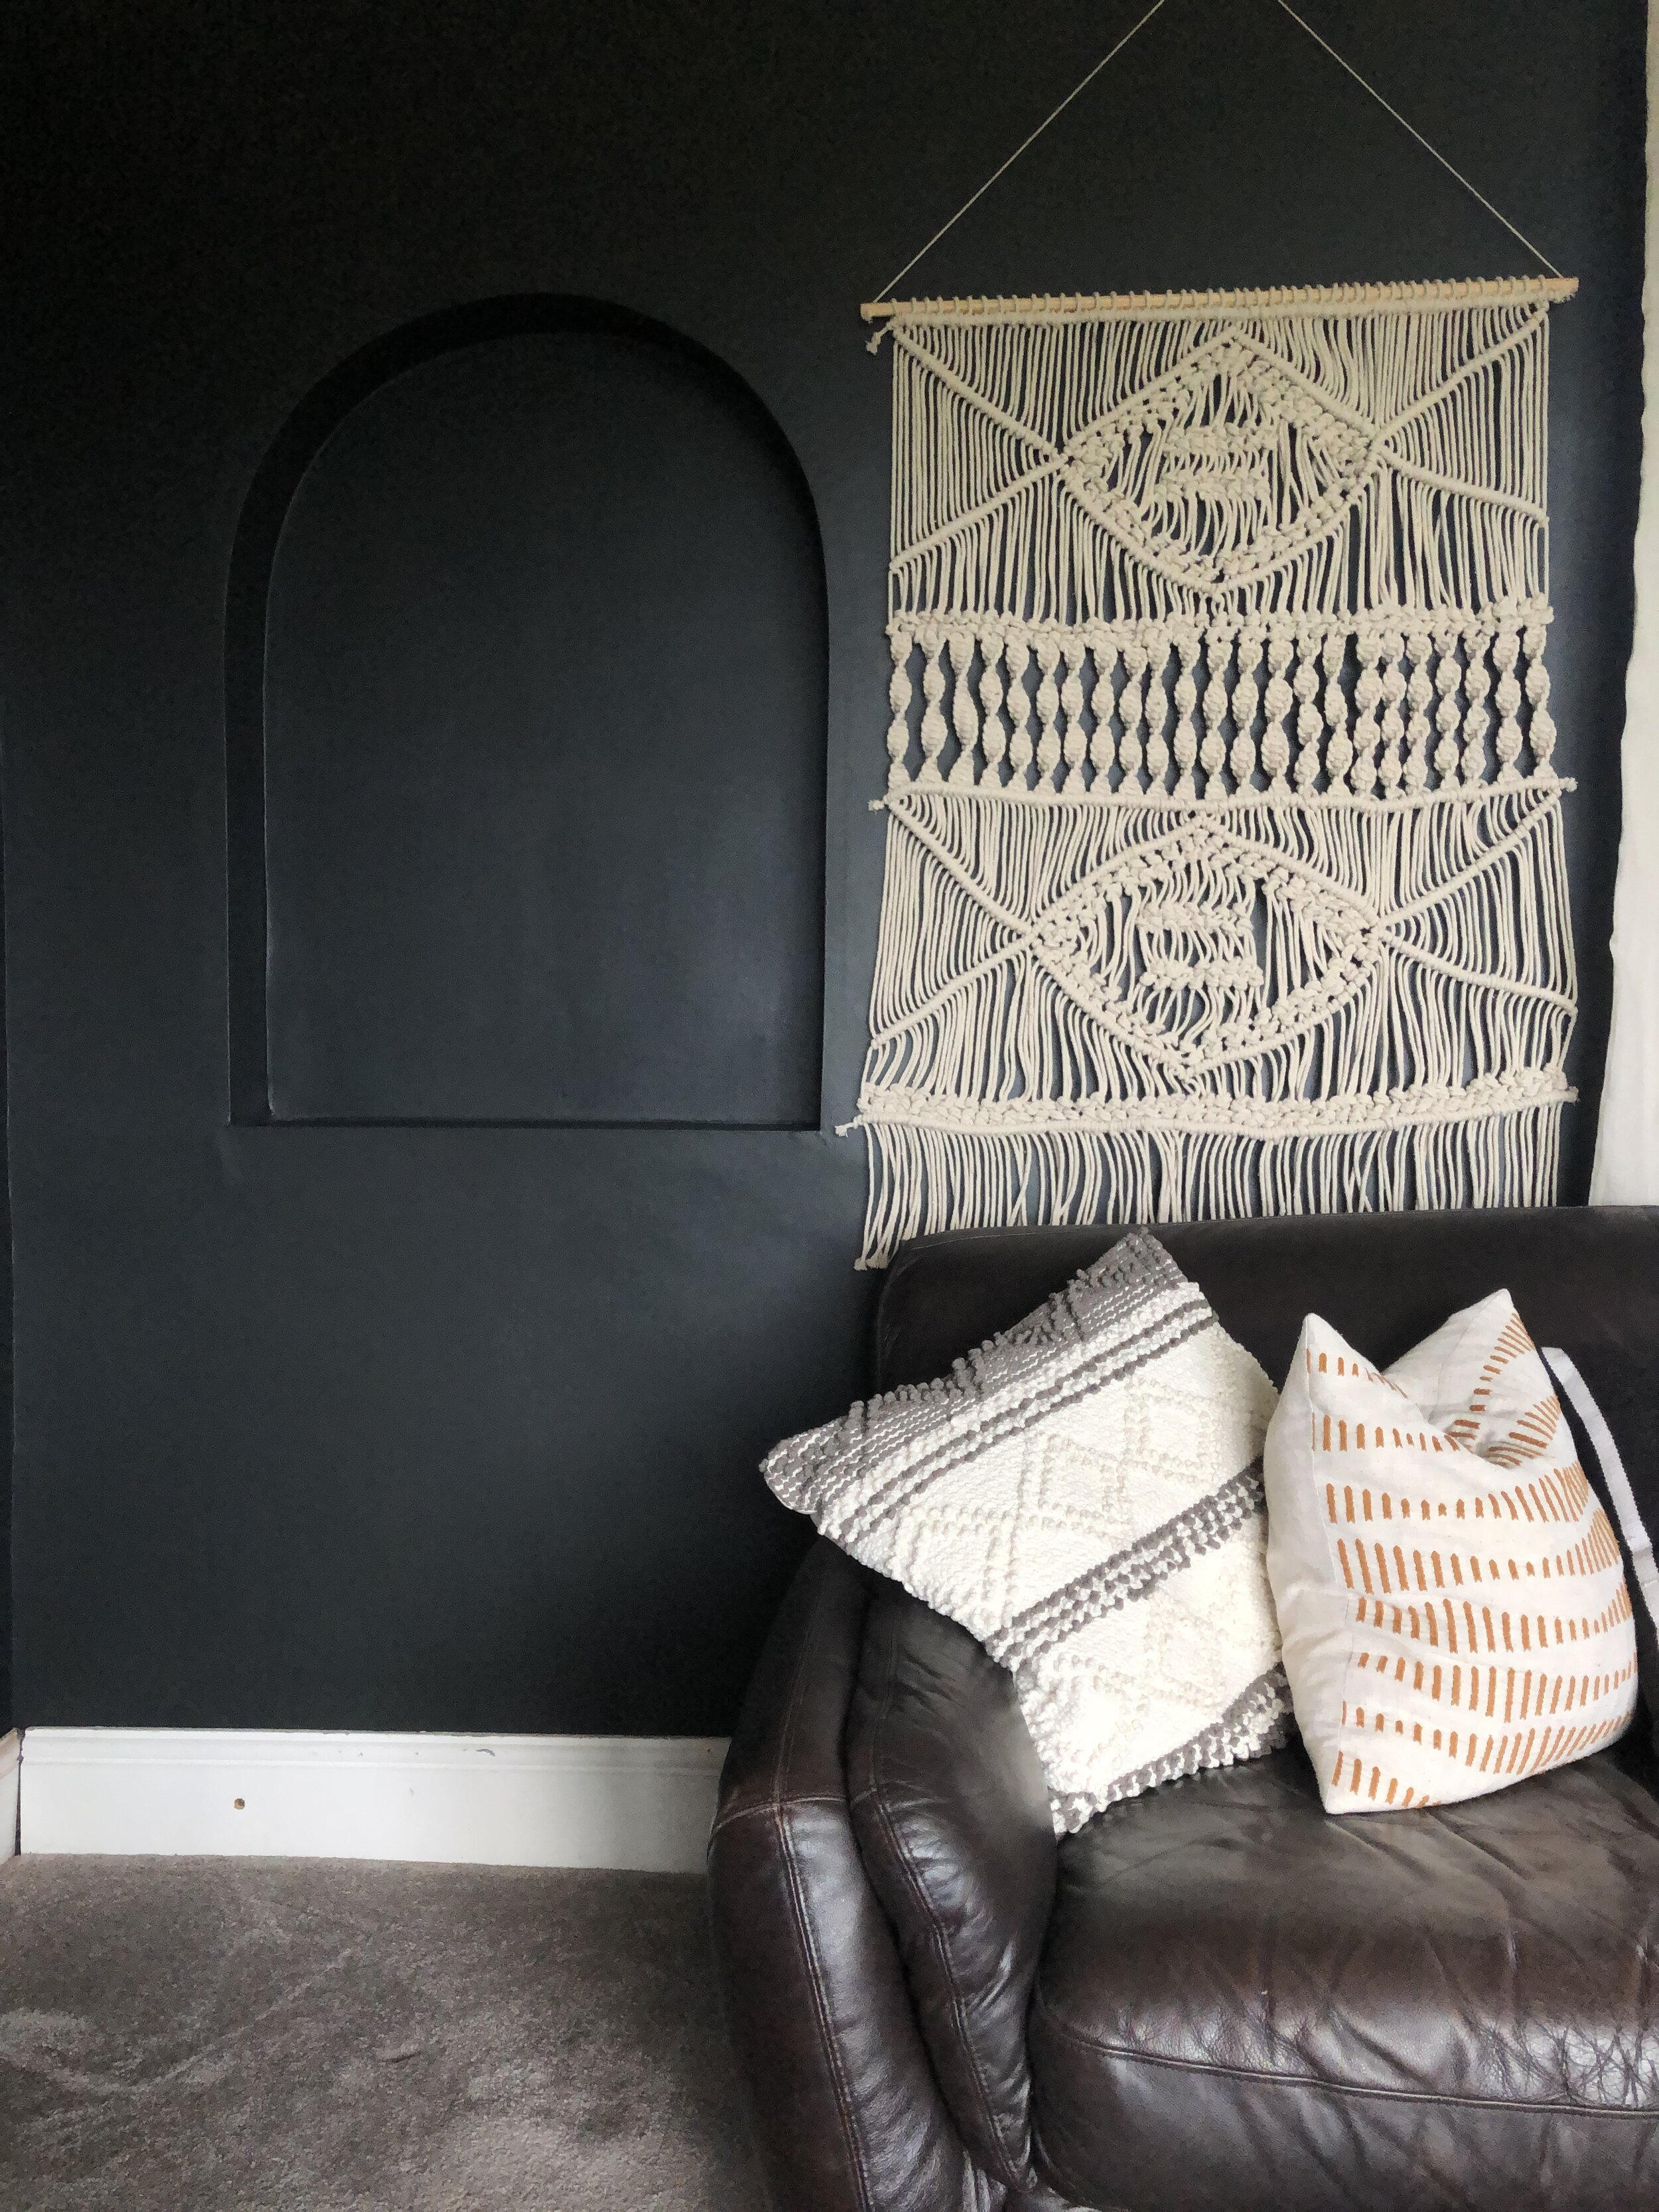
I LOVE little bits of history like this! So I wanted to play the alcove up a bit more, plus add storage for books and knick knacks.
Materials & process
As per usj, I wanted to make something out of nothing and use materials we already had.

👆We saved this blue wood shelf when we removed it during our boot room redesign. Joe cut two pieces to size and I repainted them using leftover black paint from our living room. Gotta love free DIY supplies! 👍

In a perfect world, I would’ve wanted floating shelves in the alcove. But it was 100x quicker and easier to use some standard L-brackets. We didn’t have any spare so got these ones from Amazon.
We used two brackets per side for extra support, since they’ll be housing heavy books. And we drilled the brackets into the side of the alcove rather than the back, hoping the shelves would appear more hidden that way.
Also…signs you live in an old house: EVERY wall is crooked. 😂 It took some doing to get the brackets to line up straight but we got there in the end.

Once the shelves were on, I barely noticed the brackets. So I’m glad we went with this shortcut rather than spend forever and a day finagling custom floating shelves.

Then all we had to do was paint and style the shelves…which I’m still playing around with. (Is it just me or is shelf styling THE hardest part of a project like this??)
One thing I know for sure: my Harry Potter Advanced Potion Making movie prop will be snuggled somewhere in the mix. 😜

To keep the color scheme neutral, I started with books that had black, gray, white, and brown spines.
Then I flipped more colorful book jackets inside out and wrote the book name and author on spines. The rest were turned around so the cream/brown pages faced outwards to better fit the color scheme.

I might invest in some cloth book repair tape to cover over the colored spines if it gets annoying having some books turned around. But this works fine for now!

And there ya go: an easy and practical project to make more of our space and play up our home’s unique quirks.
With a house full of projects planned, it’d be easy to glance past this one as no big deal. But sometimes it’s the little projects that make the biggest difference to your home, don’t you think?