
3 easy DIY home projects to make something useful out of “waste”

Big ol’ disclaimer, right off the bat: These easy DIY home projects aren’t Pinterest-worthy.
This blog isn’t a story of what-to-do, it’s just what-I-do. I’m not an expert, just a fellow human who’s trying to live a good little life that honors what matters most.
If I tried to be a voice of authority, I’d never utter a word.
But honest-to-goodness green living doesn’t have to look like crisp white linen rags and fancy glass canisters. Chopped up old t-shirts and repurposed salsa jars work fine, too.
And, hey. If my place in the sea of beautiful home blogs is showing you how I turn LITERAL garbage into things I now use daily, I’m down for it. 😂
With modern society shouting about “newer! more! better!” we’re so used to pulling out our wallets and buying every time we need something. But making your own or finding a new use for something old is its own little act of defiance…and a great reminder that we already have enough, if we just pause and look.
So without further ado, here are three easy DIY home projects where I created highly useful items from things that would otherwise go in a rubbish heap…and cost precisely £0. I hope they spark an idea or two for how YOU can use things you’ve already got to create something new and useful.
Easy DIY home project #1: kitchen curtains

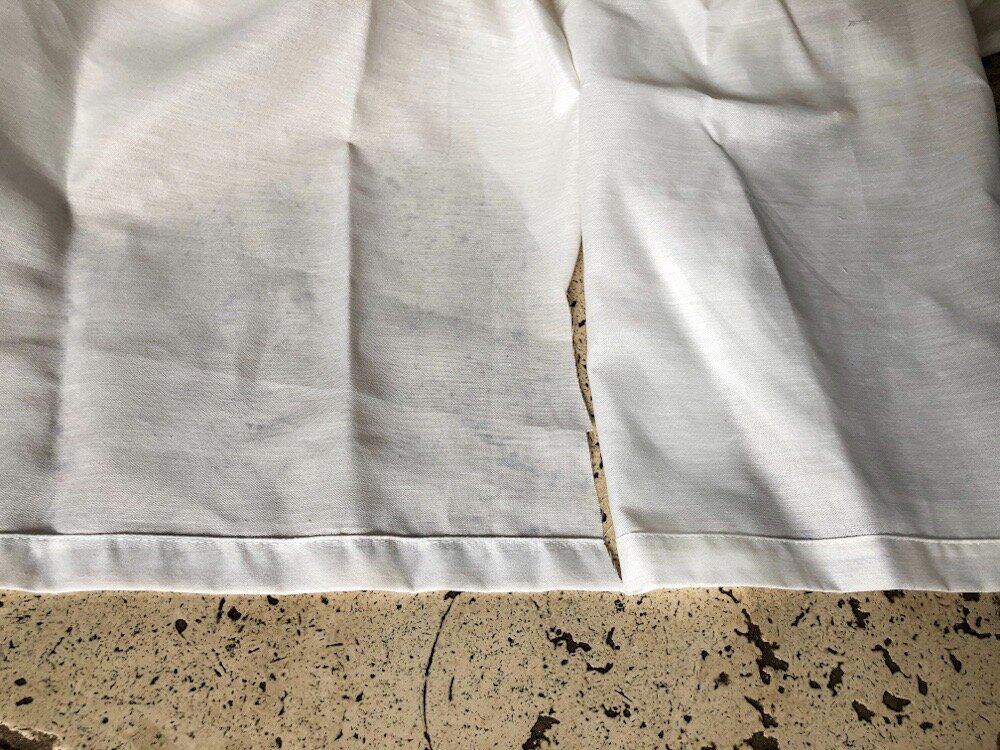
The first time we looked at our house, I remember thinking, “That kitchen window’s pretty exposed. We’ll have to get curtains for it right away.”
15 months into living here…we finally got curtains in that window. 🙈
I used fabric scraps to make these curtains. The linen was leftover from our living room curtains Joe’s mom sewed for us (like the angel she is.) And the lining is an old IKEA Vivan curtain that got a mysterious stain right in the middle. (Sidenote: Those are my favorite cheap-but-look-chic curtains if you like a light and airy look.)
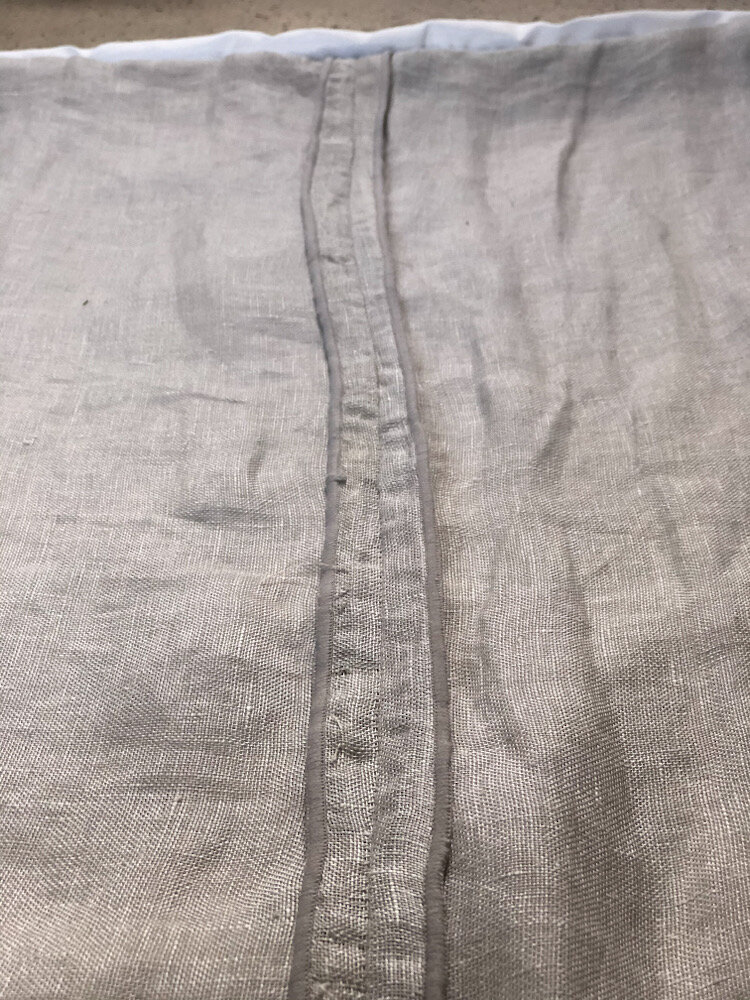
My mother-in-law taught me the trick of using existing hems in your fabric scraps. This was a GAME-CHANGER because it saves you the hassle of trying to get your hems exactly right.
The only exposed hem in my curtains would be along the bottom; the rest of the seams would be hidden. So I started using the neat hems on my fabric scraps to create the bottom edge for each panel. Then I cut the rest of the fabric to size accordingly.
The linen scraps were long and thin, not nearly wide enough for a curtain panel. So I sewed two together and then folded back the seam.
I actually LOVE the visible seam down the middle of the finished product. It makes them so much more interesting, don’t you think? They’re not perfect but hey-ho. Character and whatnot.
After that, I laid the linen and the lining with the good-looking sides (or “right” sides, in sewing lingo) facing one another and stitched up the right and left edges.

Then I turned everything right-side-out so the seams were inside and hidden. To finish it off, I folded the top over twice to make a neat-ish hem.
Done!

If you have any leftover fabric lying around, I really recommend giving curtains a go! They’re an easy DIY home project you can finish in an afternoon. I used those same stained IKEA curtains (and existing hems 👊) to make another simpler pair for our bathroom window.
Easy DIY home project #2: banana fertilizer

We started a little community garden with our neighbors this summer and for the most part…it’s been a flop. We planted out too late, we added too much mulch, and discovered (fun surprise!) we have rabbits and other critters that love to eat everything.
But I still have a couple of things in pots that have done well (basil and spinach, mainly.) And I’m tending to those precious survivors like my life depends on it.
I wanted to try a simple, natural fertilizer on them. Smart friends of mine swear that synthetic fertilizers are harmless but I still don’t love the idea of pouring chemicals over my plants. Enter: banana peels.
According to plantcaretoday.com, banana peels contain potassium, phosphorus, calcium, and magnesium, which help plants grow stronger and repel pests. I made a tea but you can also blend peels into a smoothie to pour over plants.
It’s insanely easy: I just stuffed 2 banana peels in a quart mason jar and filled the rest with water, around 700 mls. I let it steep for 1 week then strained it and added the liquid to my basil and spinach plants.

The plants DEFINITELY perked up afterward. Especially the basil had been looking sorry and barely growing the past few weeks; I thought it might be dying off for the season. But shortly after fertilizing, leaves started shooting out, growing bigger and much faster.
One tip: Be careful where you leave your steeping tea. Even with the lid screwed on, some leaked out of my mason jar overnight and stained my wood countertops. 😑 Just keep it in a bowl while it’s steeping to avoid this.
Easy DIY home project #3: adding 60% more storage to a shoe rack
This is a DIY project only a mother could love. And as the mother in this analogy, I can’t even fully say I love it, if I’m honest. It’s still pretty janky.
BUT we added a ton of functionality to the perfectly-fine homemade shoe rack that came with our house. So the practical side of me is happy with this one.

My design dream here is to find a local woodworker who can build a cover piece to make the boiler and shoe rack like a built-in sideboard. So instead of looking like this:

…it’ll look something like this (but with sliding doors so we can access everything behind):

That’s the dream, anyway! Until then, I wanted to make better use of the rack we’ve got by adding more shelves.
We started by plundering our neighbor’s shed. (He loves to make stuff so is always picking up spare bits and bobs.) We found some great thin wood panels for the shelves and chunky pieces to use as shelf brackets.

We don’t have power tools so sawed and sanded everything by hand, which was admittedly kind of a pain. But it was a beautiful sunny day and we don’t get a ton of those in northern England — so we were quite content being outside all afternoon, working on our little project.
We marked where we wanted to add our new shelves and screwed in the brackets.

Then we slid the shelves onto the brackets, added a quick coat of white paint, and bada bing bada boom, we had a new and improved shoe rack. We started with space for 10 pairs and now we can fit 16, which makes a big difference in our little house without much storage.

BEFORE

AFTER
And there you have ‘em: 3 easy DIY home projects to make something useful out of nothing.
I don’t expect these projects will make you say “WOW how sleek and elegant!” 😂 But I do hope they serve as an example of how a little creativity goes a long way. And maybe you just might be inspired to think of a new way to use what you’ve already got.
Making versus buying is such a satisfying feeling, too. I appreciate these items so much more, making them myself. And it feels good to know I did a little part to keep waste out of landfills and make better use of resources we’ve already been given.
If you start any repurposing/DIY projects of your own, tag me on Instagram @whitneyprend — I geek out over this stuff so I’d love to see yours! Or if you dare to try one of these three projects yourself, please use #westwindjournal so I can follow along with what you create. 🤗